Knock Sensor – 1999-2006 Chevy Silverado
Required Tools
• 8mm, 10mm, & 22mm sockets
• Socket wrench
• Flat head screwdriver
• 3/8 inch extensions
• Vice grips
• Hose clamp pliers
• Torque wrench
• Rags
• Fuel line release tool 3/8"
General Repair Steps
1. Open the main Fuse Box (located under the hood on the driver’s side).
2. Using the guide on the underside of the cover, locate and remove the Fuel Pump Fuse.
3. Start the engine and wait for it to stall.
4. Using a screwdriver (or pick), press the pin inside the fuel valve (located under the engine cover on the passenger side), and release any remaining fuel onto a rag.
5. Loosen 8mm bolt on top of Engine Cover, and remove cover.
6. Loosen 8mm bolts on hose clamps at either end of Outlet Ducting.
7. Remove the Radiator Hose and Throttle Body Coolant Lines from the clips on the bottom of the Outlet Ducting.
8. Remove the Outlet Ducting and put it aside.
9. Optional: Use hose clamps (or a vice grip with a rag around it) to pinch off the coolant line running into the Throttle Body.
10. Loosen the hose clamps on the coolant lines running into the Throttle Body and remove the lines (put down a rag first to catch any spilling coolant).
11. Remove the connector from the side of the Throttle Body.
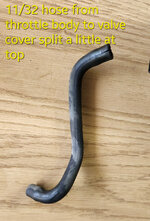
12. Remove the hose from the rear of the Throttle Body.
13. Loosen the three 10mm bolts on the plastic cover on top of the intake near the cab, and then remove the cover.
14. Using some compressed air, blow some air around the base of the Intake Manifold, where it meets the block. This is to ensure no debris gets into the engine when the manifold is removed.
15. Unplug all eight Fuel Injectors (four on each side of the manifold).
16. Loosen all ten 8mm bolts on the Intake Manifold, and remove them.
17. Unplug the MAP sensor at the top rear of the Intake Manifold.
18. Disconnect the two clips hold down the Wiring Harness that runs over top of the manifold.
19. Unplug the Alternator, EVAP line, and EVAP connector.
20. Remove the 10mm nut from the Wiring Harness clamp on top of the manifold near the Throttle Body, and then push the wiring harness to the side.
21. Loosen the hose clamp on the Vacuum Line running to the Brake Booster, and then remove the hose.
22. Unplug the PCV line (on top of the manifold about midway back).
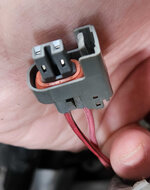
23. Unplug the Knock Sensor, and then remove the sensor clip from the Intake Manifold.
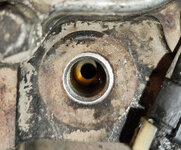
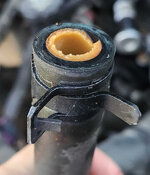
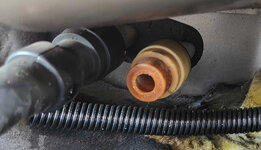
24. Using a fuel line release tool, remove the Fuel Line (located on the driver’s side of the manifold) from the manifold. Put a rag underneath the Fuel Line to catch any remaining fuel.
25. Take the EVAP line, run it back under the Fuel Line, and then push it to the side.
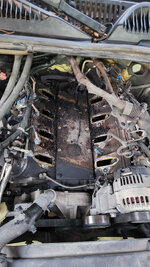
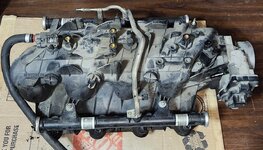
26. Remove the Intake Manifold from the engine bay (keeping an eye out for any leaking coolant or fuel)
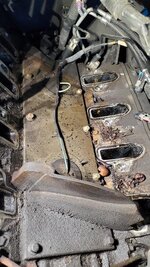
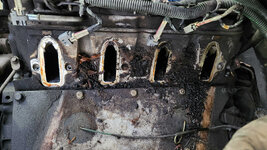
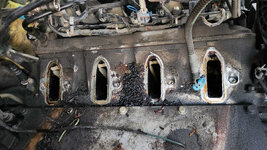
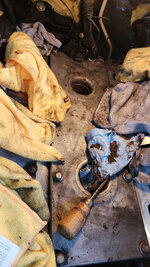
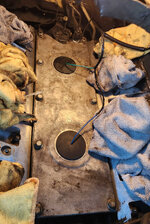
27. Stuff some rags into the top of the eight Intake Ports to ensure nothing falls into them.
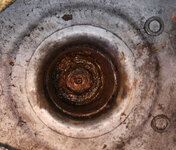
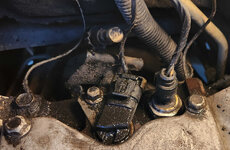
28. Pull up on the rubber plug above the Knock Sensor, and unplug the Knock Sensor connector. There are two Knock Sensors; you may want to replace both at the same time.
29. Using a 22mm socket, loosen and remove the Knock Sensor(s).
30. Screw the new Knock Sensor(s) in by hand.
31. Torque the Knock Sensor(s) to 15 foot-pounds.
32. Replace the Knock Sensor connector(s) and plug(s).
33. Remove the rags from the Intake Ports (being careful nothing falls into them).
34. Clean the intake mating surface.
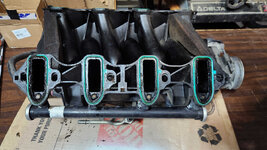
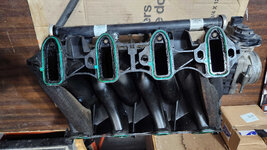
35. Optional (but recommended by Chevrolet): replace Intake Manifold Gaskets.
36. Put the Intake Manifold back into place.
37. Put some Loctite 242 (Blue, medium strength) on the threads of all ten 8mm manifold bolts, and then put the bolts into place finger tight.
38. Torque the 8mm bolts following the order shown below. This is a two stage process. First round, torque the bolts to 44 inch-pounds, second round, torque to 89 inch-pounds.
39. Pull EVAP line under Fuel Line and back into place, and reconnect it.
40. Reconnect PCV hose.
41. Reconnect Vacuum Line to Break Booster.
42. Plug the EVAP connector and Alternator connector back in.
43. Put the Wiring Harness back into place, and secure the clamp using the 10mm nut.
44. Close both clips on the Wiring Harness.
45. Put the Knock Sensor connector back into place, and plug it in.
46. Reconnect the MAP sensor.
47. Plug all eight Fuel Injectors back in (tabs face toward rear on driver’s side, and toward the front on the passenger side).
48. Replace the cover near the top rear of the manifold, and tighten the three 10mm bolts.
49. Reconnect the Fuel Line (making sure to replace the metal clip that secures it to the manifold side).
50. Reconnect the hose on the rear of the Throttle Body.
51. Plug in the Throttle Body connector.
52. Reconnect the Throttle Body coolant line.
53. Put the Outlet Ducting back into place, and reconnect the Throttle Body coolant line and Radiator Hose to the underside of the Outlet Ducting.
54. Slide the Outlet Ducting back onto the Throttle Body and Mass Airflow Sensor.
55. Tighten the 10mm bolts on the Outlet Ducting hose clamps.
56. Replace the engine cover, and tighten the 8mm bolt at the top.

